
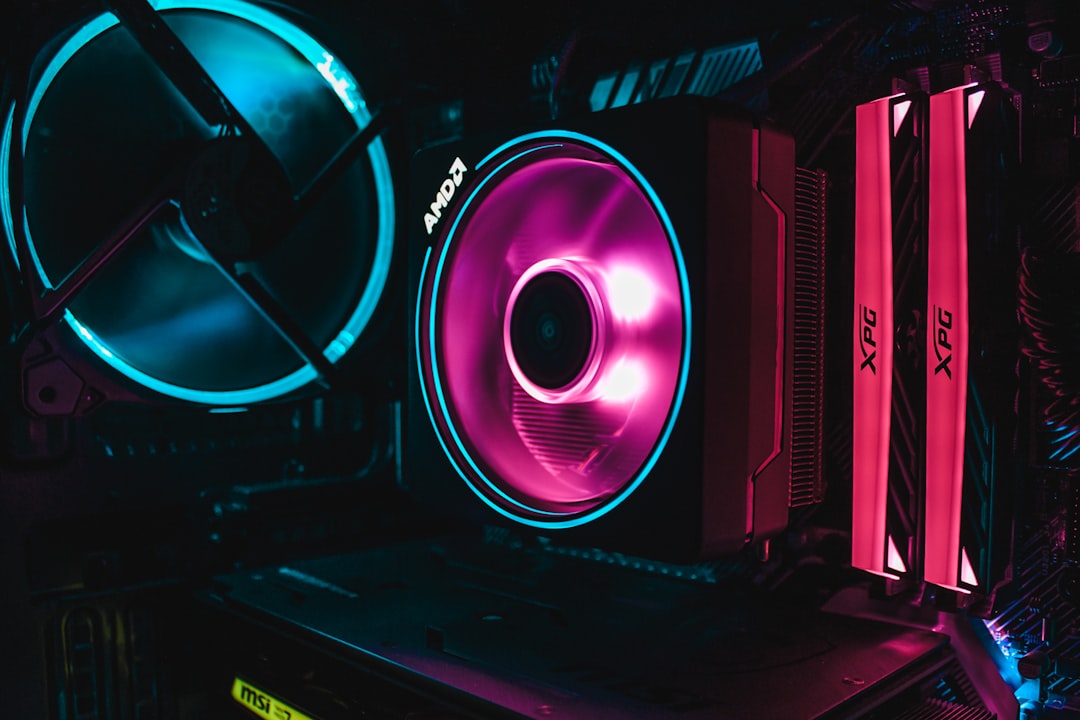
Building your first gaming PC can be an exhilarating yet daunting task. Many beginners are often overwhelmed by the myriad of components and technical jargon involved. However, with the right guidance and understanding, this process can be simplified. This guide aims to demystify the essentials of building a gaming PC, addressing common misconceptions and providing clear insights into each step.
Understanding the Components
One of the first steps in building a gaming PC is understanding the key components involved. These include the CPU, GPU, motherboard, RAM, storage, and power supply. Each component plays a vital role in the overall performance of your gaming rig. For instance, the CPU acts as the brain of your computer, while the GPU is responsible for rendering graphics. Knowing what each part does will help you make informed decisions when purchasing.
Myth: You need to buy the most expensive components to build a good gaming PC. Truth: While high-end components can enhance performance, there are many budget-friendly options that provide excellent value. It’s essential to balance your budget with your gaming needs, ensuring that you invest in components that will give you the best performance for your money.
Choosing the Right Parts
Once you understand the components, the next step is selecting the right parts for your build. This can be a challenging task, given the vast array of options available. Start by determining your budget and what games you plan to play. This will guide your choices, allowing you to prioritize components that will deliver the best gaming experience for your specific needs.
Myth: All components must be from the same brand for compatibility. Truth: While some brands offer better compatibility, most components adhere to standard specifications. As long as you choose parts that fit your motherboard and power supply requirements, you can mix and match brands without issues.
Assembling Your PC
With your components in hand, it’s time to assemble your gaming PC. Start by preparing your workspace and ensuring you have the necessary tools, such as a screwdriver and anti-static wrist strap. Begin by installing the CPU and RAM onto the motherboard before placing it into the case. This method makes it easier to manage the components and reduces the risk of damaging them during installation.
Take your time during assembly, and don’t rush through the process. Each component should fit snugly, and you should hear a click when securing parts in place. If you encounter resistance, double-check the alignment before forcing anything. Patience is key, as a careful assembly can prevent future issues.
Installing the Operating System
After assembling your PC, the next step is to install the operating system. Most gamers prefer Windows for its compatibility with a wide range of games and software. You can create a bootable USB drive with the Windows installation files, which will guide you through the installation process. Follow the prompts carefully, and ensure you select the correct drive for installation.
Myth: Installing an operating system is too complicated for beginners. Truth: While it may seem intimidating, the installation process is straightforward with clear instructions. Many online resources and tutorials can guide you through each step, making it accessible for anyone willing to learn.
Testing and Troubleshooting
Once your operating system is installed, it’s time to test your new gaming PC. Launch a few games to see how well your system performs. Monitor the temperatures and performance metrics to ensure everything is running smoothly. If you encounter any issues, don’t panic; troubleshooting is part of the process.
Myth: If something goes wrong, it means you did something wrong. Truth: Even experienced builders face challenges. Many factors can affect performance, from software settings to hardware compatibility. Researching common issues and solutions can help you resolve problems efficiently and improve your overall understanding of PC building.